Add and edit menu items
Create items, set prices, kitchen names, printers, tax and modifier sets, and edit many items at once.
Items are the buttons your staff tap on the POS order screen. Every item lives in one Department (the list down the left of the order screen) and can carry Modifier Sets, a tax, price schedules and its own printer or kitchen screen.
You manage items in the back office (login.realpos.net) under Menu > Items, or on the POS under Manager > Menu > Items. Both edit the same menu.
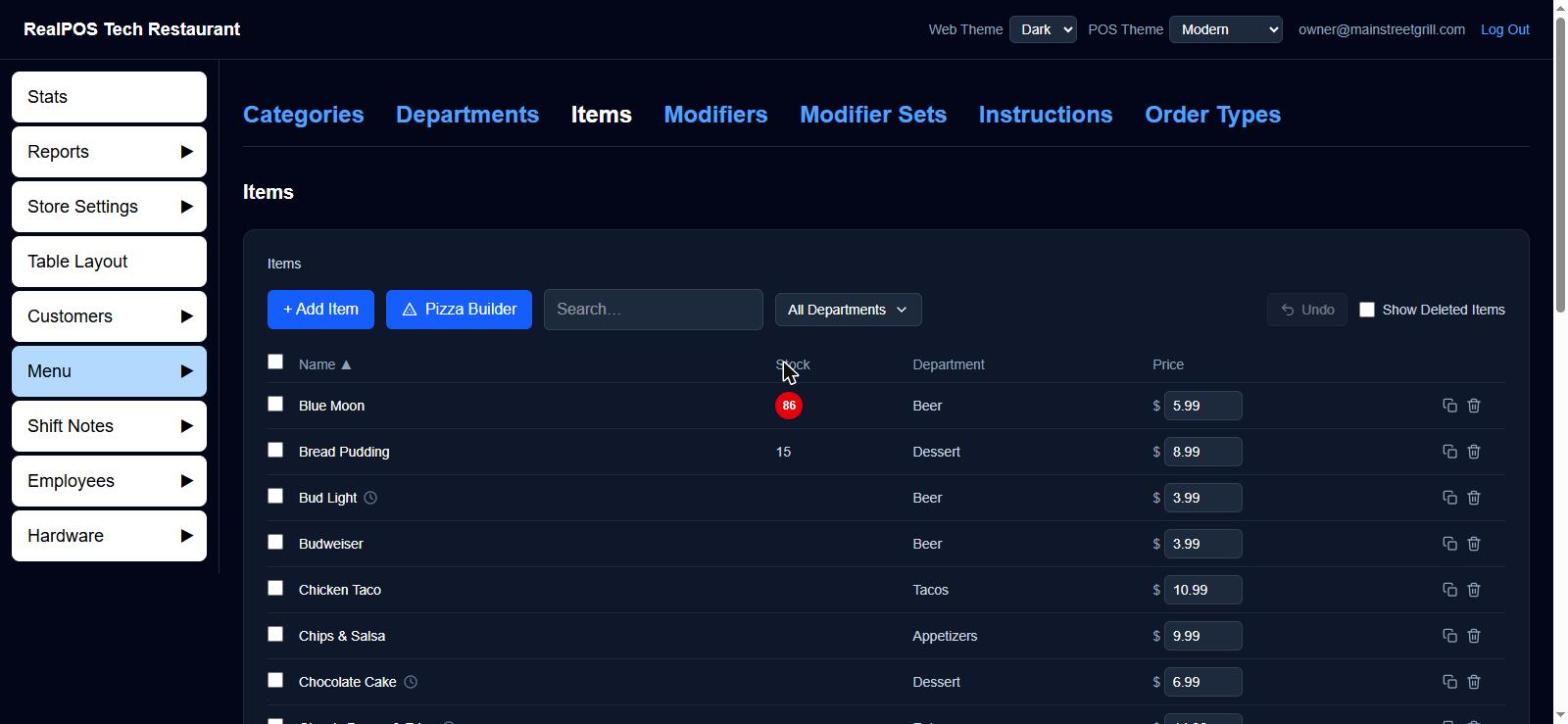 The Items list in the back office
Add an item
- In the back office, go to Menu > Items.
- Click + Add Item. A new item called "New Item" opens, ready to name.
- Fill in Item Name and Price.
- Pick its Department.
- Set the other fields you need (see below), then click Save.
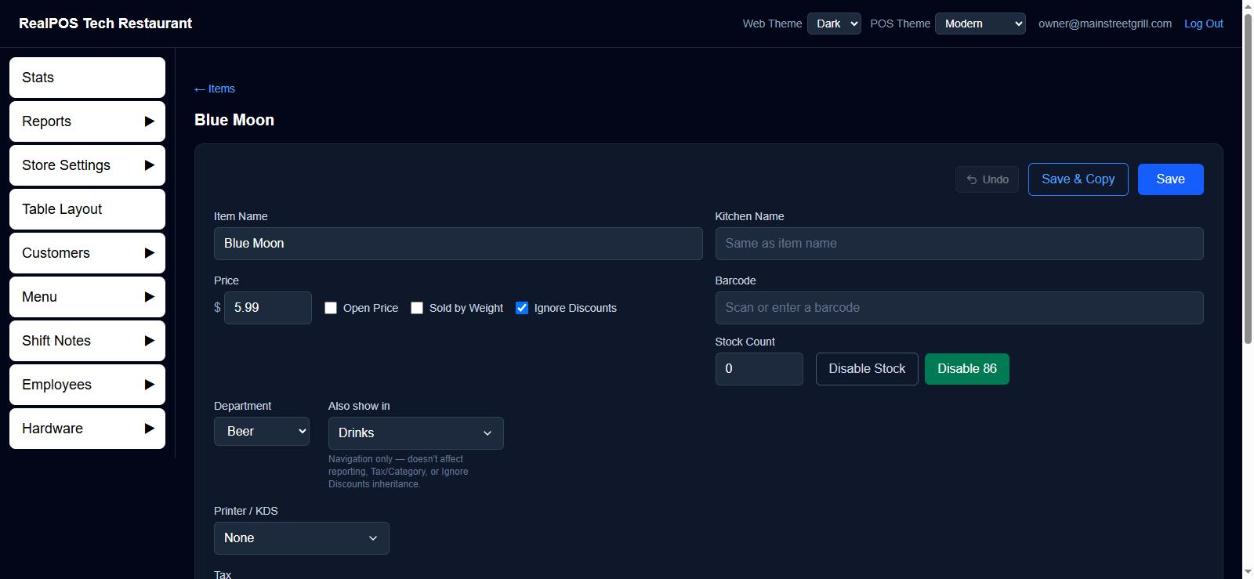 An item's edit page
The fields on an item
- Item Name: what staff see on the button and guests see on the check. Names must be unique.
- Kitchen Name: an optional shorter or clearer name for kitchen tickets and kitchen screens. Leave it blank to use the item name.
- Price: the normal price.
- Open Price: the POS asks for the price every time the item is rung in. Handy for market-price specials.
- Sold by Weight: the POS asks for the weight every time, then multiplies it by the price. Pick Lb. or Oz. for the unit.
- Ignore Discounts: discounts skip this item. It also applies if the item's Department or Category has Ignore Discounts ticked.
- Barcode: scan or type a barcode. Two items can't share a barcode.
- Stock Count, Disable Stock and 86: track how many are left, or mark the item out of stock. These save straight away, without Save. See 86 an item and change prices on the POS.
- Also show in: shows the button in extra Departments on the POS too. This only affects where the button appears. Reports, tax and discounts still follow the item's own Department.
- Printer / KDS: which printers and kitchen screens get this item when it's sent. New items start on a printer or screen named "General" if you have one. See Printers and kitchen screens.
- Tax: leave it on Inherit from Dept/Category to use the tax set on the Category, or pick a tax just for this item. Tick Non Taxable to never tax it. See Set your tax rate.
- Modifier Sets: the choices offered when the item is rung in. See Modifier Sets.
- Price Schedules: a different price during set times, like a happy hour. See Schedules.
Attach Modifier Sets to an item
- On the item's page, under Modifier Sets, click + Add.
- Tick one or more sets and click OK. Sets with no modifiers in them yet are greyed out.
- Drag the handle to put them in order. This is the order the set columns appear in on the POS.
- Use Free with − and + to give away the first few picks from a set on this item. For example, Free 2 means the first two picks from that set cost nothing, then the set's normal prices apply.
Click a set's name to preview its modifiers and prices. The ✕ removes it from this item.
These changes save straight away. Undo at the top of the page reverses the last one.
Copy an item
- From the list: click the copy icon on the item's row. A copy named "(copy)" opens with the name selected so you can type over it.
- From an item's page: Save & Copy saves your changes and opens a copy of the item.
A copy keeps the price, department, printers, tax, flags and Modifier Sets. If you leave a copy without saving it, it's removed.
Change prices from the list
You can type a new price straight into the Price box on the Items list. It saves when you click away. Undo reverses it.
Edit many items at once
- Tick the items you want on the Items list (the top checkbox selects everything showing).
- Click Edit Selected.
- Fill in only the fields you want to change: Price, Department, Also show in, Printer / KDS, Tax, Modifier Sets. Anything you leave blank or Unchanged stays as it is on each item.
- Click Save.
Find items
- Search… filters by name.
- The department button (All Departments) narrows the list to the departments you tick. The back office remembers your choice on that browser.
- Click Name, Stock, Department or Price to sort.
- A clock icon next to a name means the item has a price schedule. A red 86 in the Stock column means it's out of stock.
Delete and restore items
Click the trash icon on an item's row to delete it. It disappears from the POS. To bring it back, tick Show Deleted Items and click the + on its row. Undo also reverses a delete straight away.
Instructions
Instructions are short cooking notes staff can add to one item, such as "Well done" or "No salt". Set them up under Menu > Instructions:
- Type the instruction in + Add instruction and click +.
- Click a line to edit it. Drag the handle to reorder.
- Use the trash icon to remove one.
On the POS, staff tap one unsent item, then Instructions to pick from this list. Instructions print on the kitchen ticket with a * after them so the kitchen can tell them apart from modifiers.
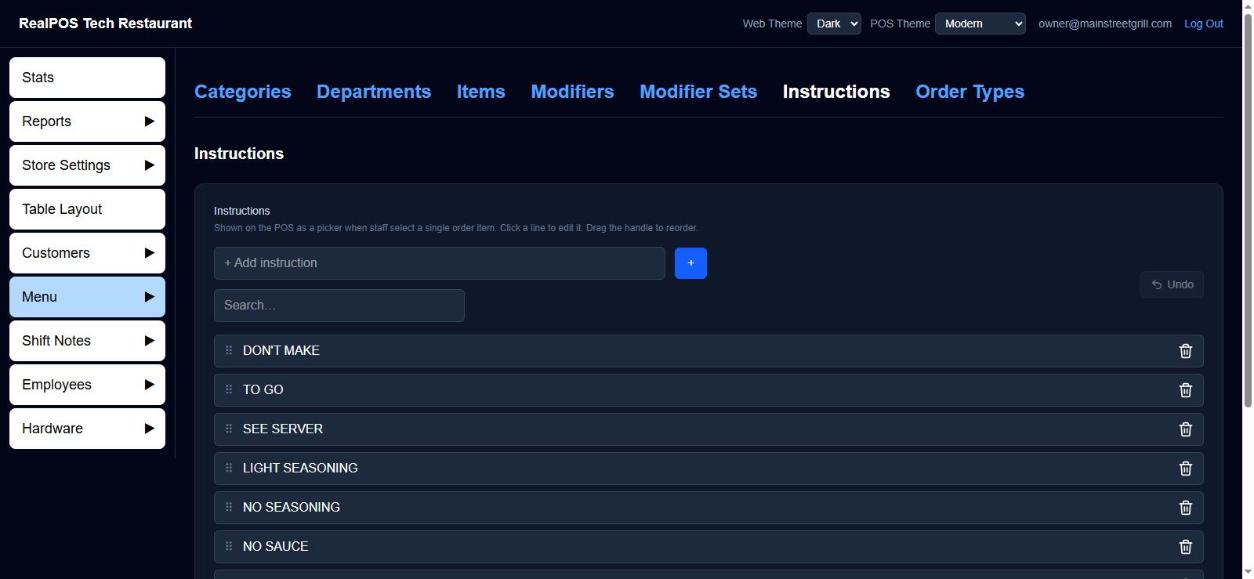 The Instructions list
Edit the menu on the POS
On the POS, Manager > Menu has the same tabs as the back office: Categories, Departments, Items, Modifiers, Modifier Sets, Instructions and Order Types. Changes you make there are sent to the back office.
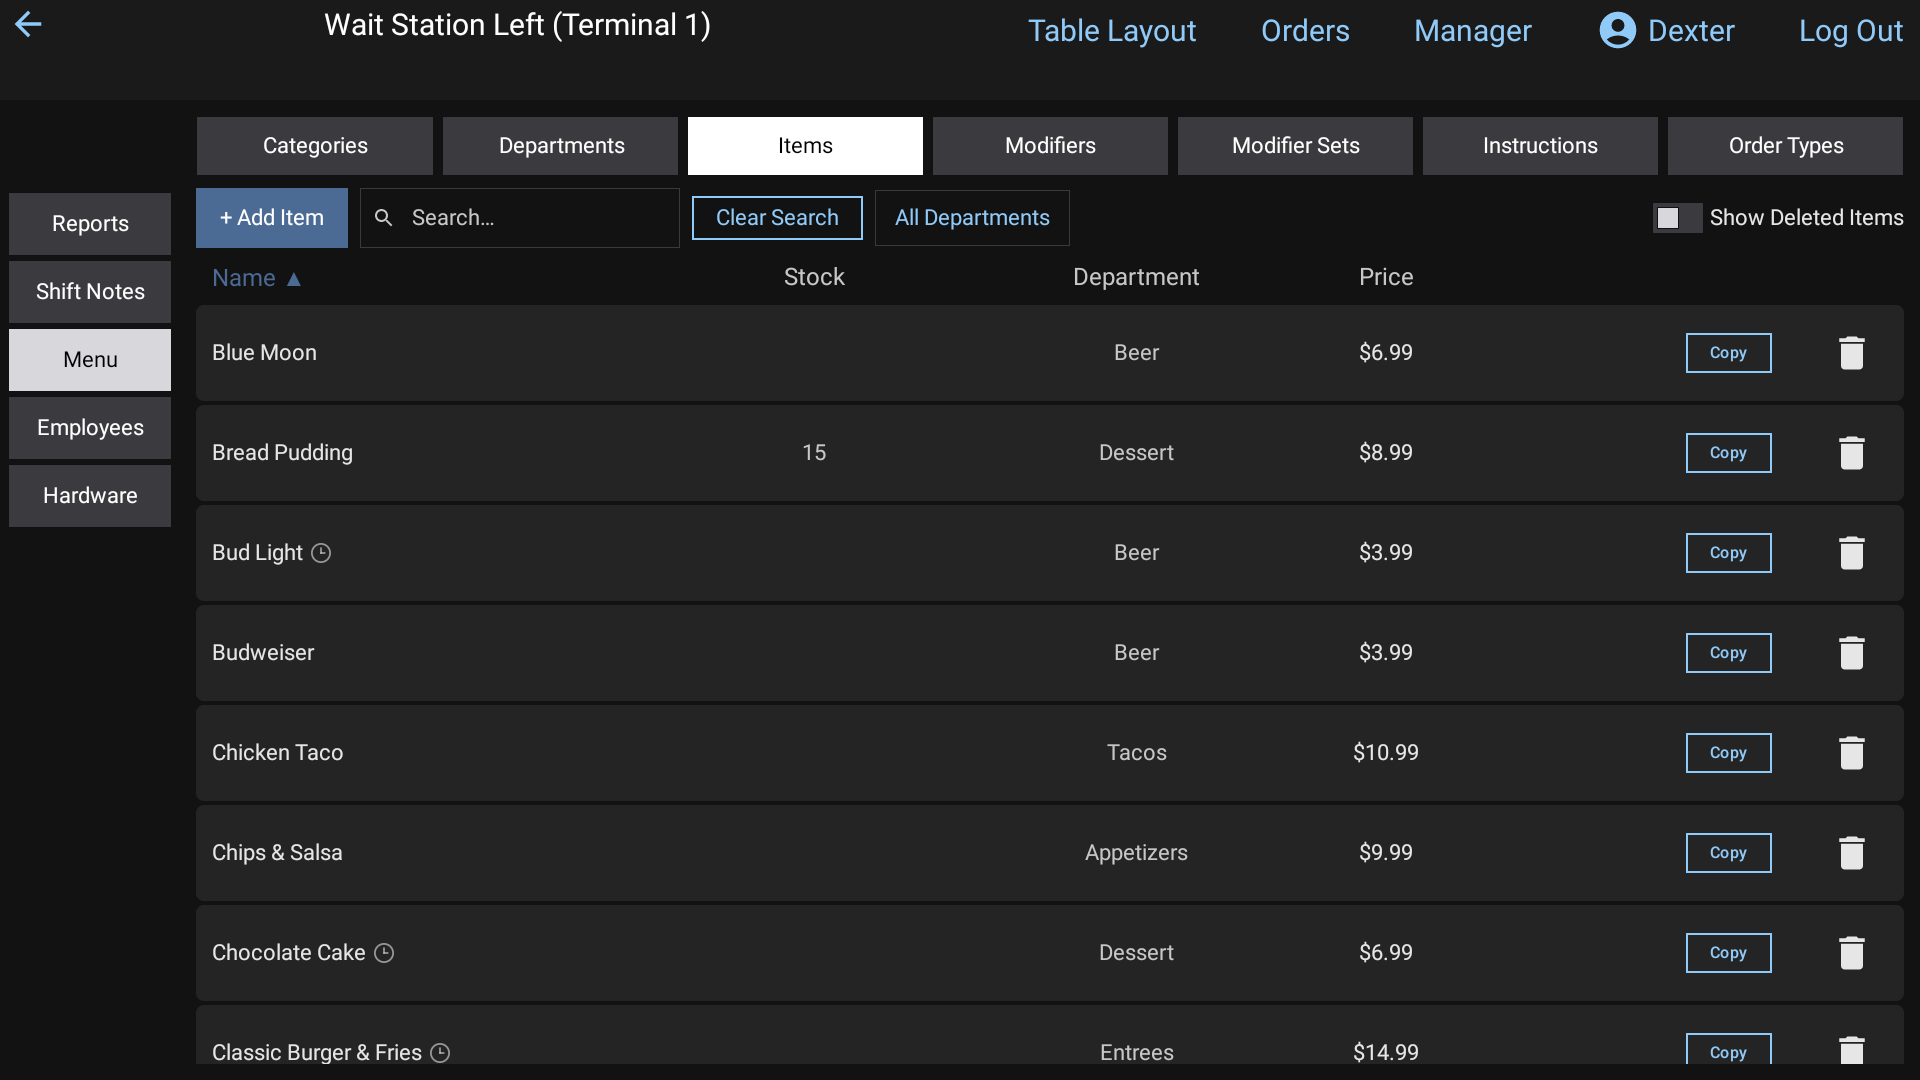 The Menu Builder on the POS
Good to know
- The POS Menu button needs two permissions on the employee's job: Allows access to the Manager menu and Allows access to Menu in Manager Menu. See Jobs and security.
- Pizza items are easiest to make with the Pizza Builder.
- If you open an item from a report, ← Back to report and Save take you back to that report.