Schedules and day parts
Set weekly time windows for happy-hour prices and time-limited departments, and name the parts of your day.
A schedule is a weekly time window, like "Happy Hour: Mon–Fri 4:00 PM to 6:00 PM". You can use one in two ways:
- On an item, for a different price while the schedule is on.
- On a department, so the department only shows on the POS during the schedule.
Schedules are in the back office (login.realpos.net) under Store Settings > Schedules.
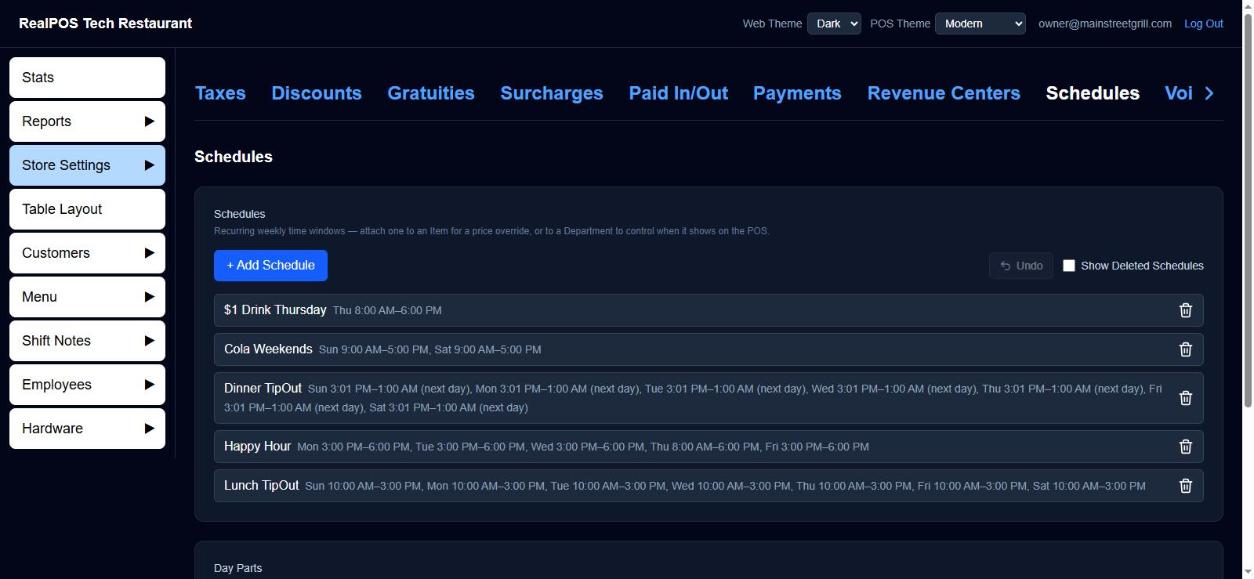 The Schedules list
Create a schedule
- Go to Store Settings > Schedules and click + Add Schedule.
- Type a Name.
- Under Days & Times, tick each day it runs and set the start and end time. Ticking a day copies the times from the first day you set up, so you only change the ones that differ.
- If it runs past midnight, tick Overnight. The end time is then on the next day, for example 10:00 PM to 2:00 AM.
- Click Save.
The list shows each schedule's days and times next to its name.
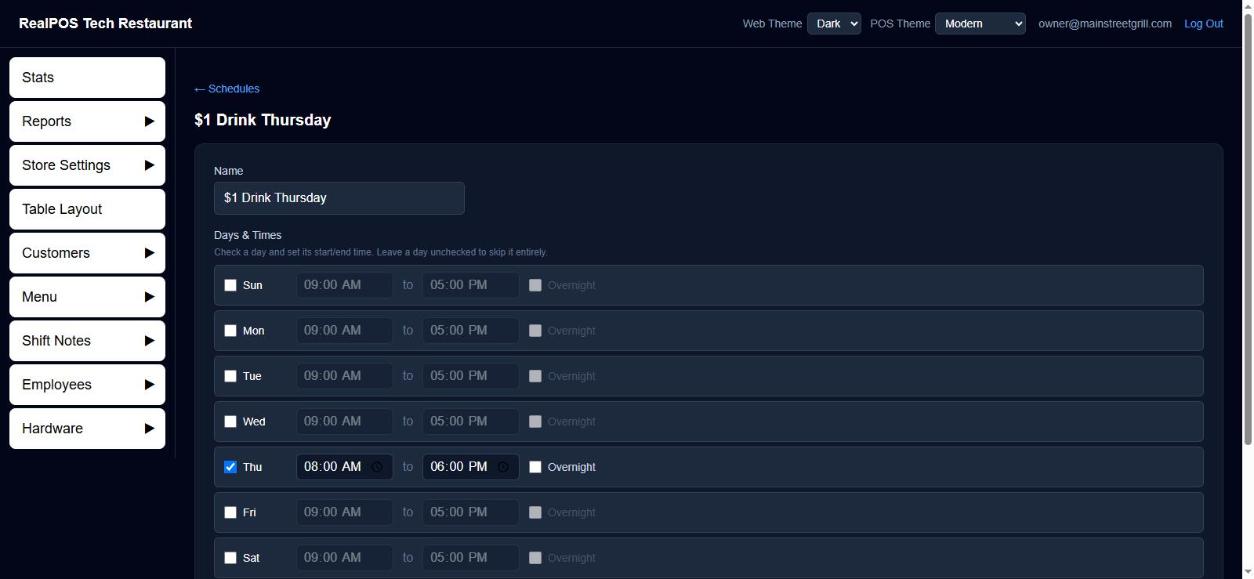 Editing a schedule's days and times
Give an item a schedule price
- Open the item under Menu > Items.
- Under Price Schedules, click + Add and pick the schedule. It starts at the item's normal price.
- Type the schedule price in its $ box. It saves when you click away.
The item's normal Price is used whenever none of its schedules is on. If two schedules on the same item are on at the same time, the one higher in the list wins. Drag ⋮⋮ to change which comes first.
A clock icon next to an item's name on the Items list means it has a schedule price. You can also change schedule prices on the POS. See 86 an item and change prices on the POS.
Show a department only during a schedule
- Open the department under Menu > Departments.
- Under Schedules, click + Add and pick the schedule.
With one or more schedules attached, the department only shows on the POS during their windows and is hidden the rest of the time. With none attached, it's always shown. See Categories and departments.
Day parts
Below your schedules, Day Parts names the parts of your day, like Lunch and Dinner. Sales reports can break your sales down by Day Parts. See Reports.
- Click + Add Day Part.
- Type a Name, then set Start and End. Tick Overnight if it ends the next day.
- Click OK.
Click a day part to change it. Use the trash icon to delete one, and Show Deleted Day Parts with + to restore it.
Delete and restore a schedule
Click the trash icon on its row, or Delete Schedule then Yes, delete on its page. Unlike most things, you can delete a schedule that's still attached to items or departments. Its prices and windows simply stop applying. Restore it (tick Show Deleted Schedules, then +) and every attachment comes back as it was, prices included.