Categories and departments
Use Departments to organize the POS order screen and Categories to set tax for groups of items.
RealPOS groups your menu two ways:
- Departments are what staff see. They're the list down the left of the POS order screen (Appetizers, Entrees, Drinks...). Every item belongs to one Department.
- Categories are for tax. A Department joins a Category, and every item in it picks up that Category's tax unless the item sets its own.
Both are in the back office (login.realpos.net) under Menu, and on the POS under Manager > Menu.
Add a category
- Go to Menu > Categories and click + Add Category.
- Type a Name.
- Pick a Tax, or leave No tax assigned.
- Tick Ignore Discounts if discounts should never apply to anything in this Category.
- Click Save.
A Category with no tax shows in pink on the list with — No Tax Assigned, so it's easy to spot.
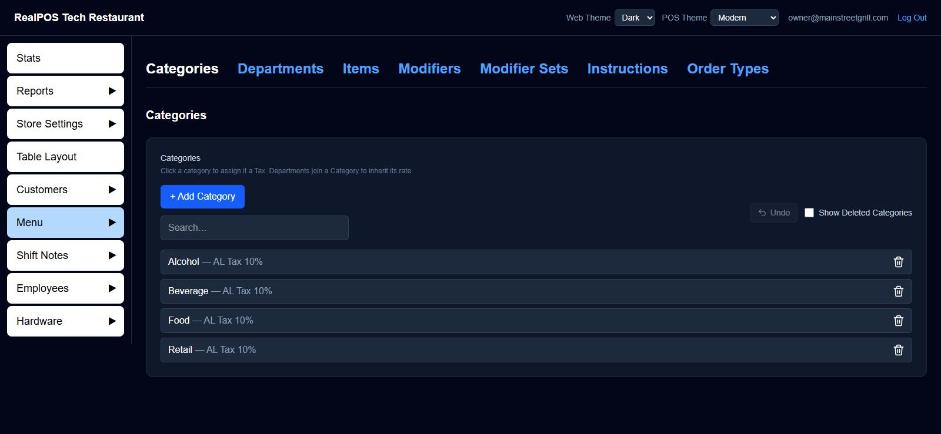 The Categories list
Add a department
- Go to Menu > Departments and click + Add Department.
- Type a Name.
- Pick its Category (this is where its tax comes from).
- Tick Ignore Discounts or Non Taxable if they apply to the whole Department.
- Click Save.
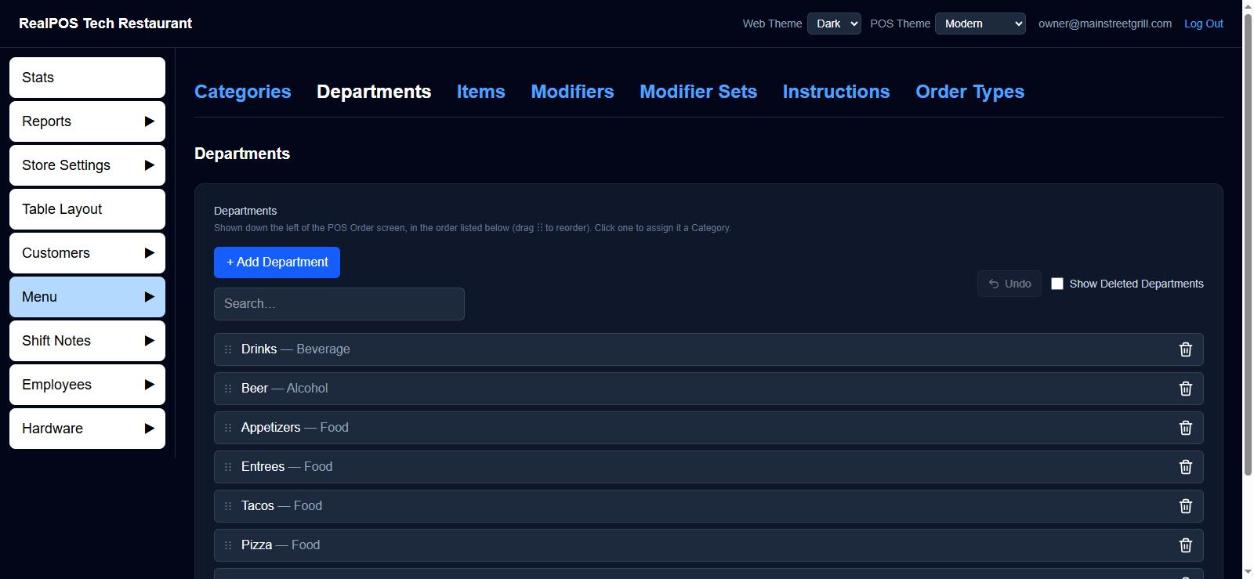 The Departments list
Put departments in order
On Menu > Departments, drag the ⋮⋮ handle on a row up or down. The POS order screen shows Departments in this order. The new order saves as you drag.
Show a department only at certain times
A Department can be limited to set times, like a Breakfast department that only appears in the morning.
- Open the Department.
- Under Schedules, click + Add and pick a schedule.
While at least one schedule is attached, the Department only shows on the POS during those windows. With none attached it's always shown. Schedules save as soon as you add or remove them. See Schedules.
Delete a category or department
- Click the trash icon on its row, or open it and click Delete Category / Delete Department, then Yes, delete.
- You can't delete a Category while Departments are still in it, or a Department while Items are still in it. Move them first. The message tells you how many are left.
- Tick Show Deleted Categories or Show Deleted Departments and click + to restore one. Undo reverses the last delete or restore.
Good to know
- Tax rates themselves are set up under Store Settings > Taxes. See Set your tax rate.
- An item can also appear in extra Departments with Also show in on the item's page. That only adds a button. Reports and tax still follow its own Department. See Add and edit menu items.
- The Departments list refreshes on its own every 15 seconds, so changes made on the POS show up without reloading.