Employee Manual › Taking orders
Seats
Ring items in by seat, add or remove seats, move items between seats, and give one seat its own name, discount or loyalty member.
Ringing items in by seat helps food go to the right guest. It also makes splitting the check by seat easy later.
When you open a table, you get one seat for each guest you typed in. Seat squares run down the left side of the ticket.
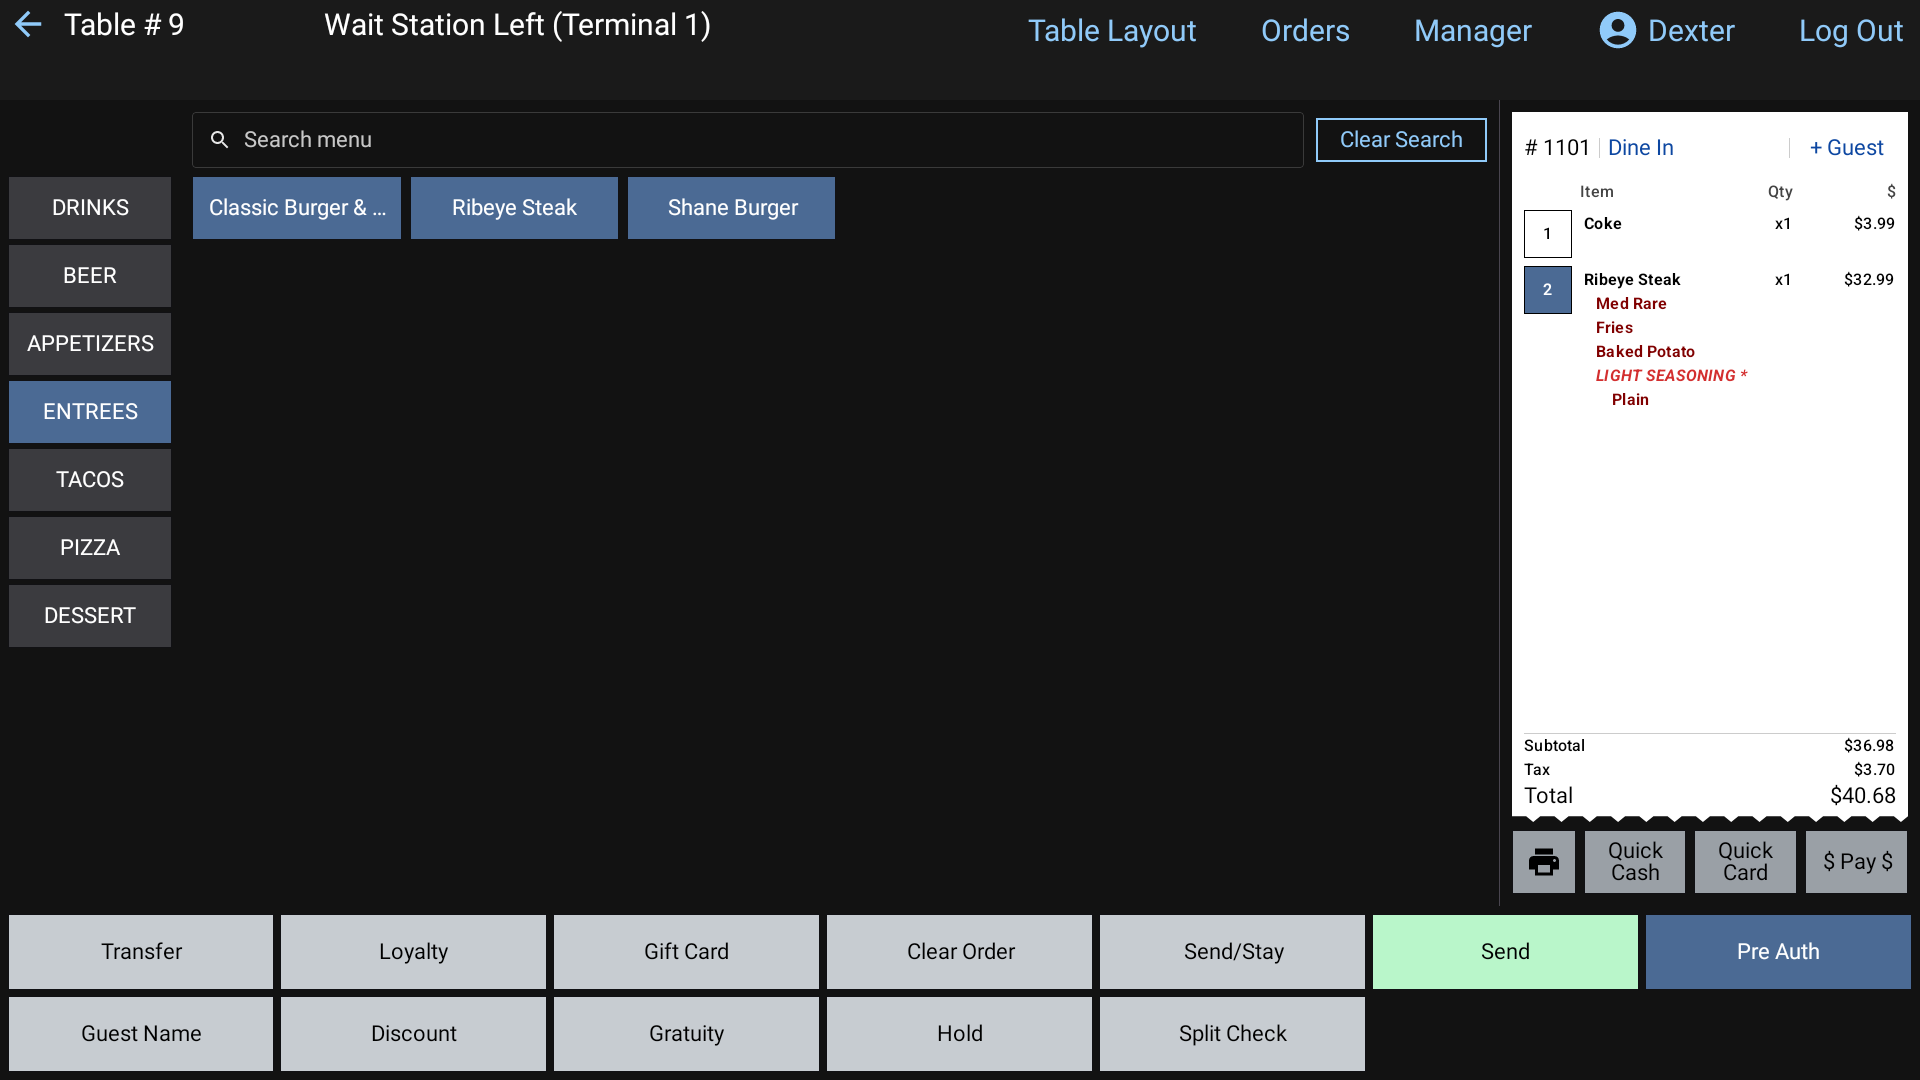 Seat squares down the side of the ticket
Ring items in for a seat
- Tap a seat's square. It lights up as the active seat.
- Tap items. They go on that seat until you pick another one.
Add a seat
Tap + Guest at the top right of the ticket.
Move items to another seat
- Tap the item(s) on the ticket.
- Tap Move.
- In Move to seat, tap the seat number. Tap + Guest to add a new seat first, if you need one.
Seat options
Press and hold a seat's square. A menu opens for that seat:
- Discount: discount every item on this seat. See Apply a discount
- Loyalty: add a loyalty member to just this seat
- Guest Name: name this seat's guest. The name shows beside the seat and on the kitchen screen
- Remove Seat: take an empty seat off the ticket. The seats after it move down one. This only shows for an empty seat, and never for the last seat
Good to know
- Items with no seat go on seat 1.
- Duplicate copies an item and then asks which seat the copy goes on.
- To give each seat its own check, use Split by Seat on the Split Check screen. See Split a check.