Submit your menu for programming
What to send your dealer so your menu is built right the first time, and how to check it once it's in.
You don't have to build your menu yourself. Send it to your dealer (or to support@bayareapointofsale.com) and they program it into RealPOS for you. The more complete the information you send, the fewer questions and corrections there are later.
What to send
Start with your menu itself: a PDF, or clear photos of every page, including the drink list, specials board, kids menu and anything else you sell. Then add the details below. A marked-up copy of the menu or a simple spreadsheet is fine.
Prices and sizes
- The price of every item, as you will charge it on opening day.
- Items that come in sizes (small/large, glass/bottle, 6 oz/10 oz) and the price of each size.
- Items whose price is typed in at the register each time, like market-price fish or a custom cake. These are set up as Open Price items.
- Items sold by weight, and whether they're priced by the pound (Lb.) or the ounce (Oz.).
Choices (modifiers)
For each item that comes with choices, list the choices and what they cost. Choices are grouped into sets, like "Temperature", "Sides", "Dressing" or "Add-ons". For each group, say:
- Which are required. For example, a steak must have a temperature. The POS won't let the server finish the item until the required number of choices is picked.
- How many can be picked. For example, "pick up to 2 sides".
- Whether the same choice can be picked more than once. For example, extra shots.
- Whether any are free. For example, "first 2 sides free, then $1.50 each".
- The price of each choice, including choices that cost more on some items than others.
Also list the short notes your staff send to the kitchen all the time, like "No Salt", "Allergy" or "On the Side". These are set up as Instructions.
Pizzas
If you sell pizza, send:
- Each size and its base price (for example 12" and 16").
- Whether toppings can go on the whole pizza, on half (left or right), or on quarters, for each size.
- The topping price for each size and for whole, half and quarter.
- Premium toppings that cost more than the others, and their prices.
- How many toppings (if any) are included free.
Kitchen printers and screens
Say where each item should print or show up: the kitchen printer, the bar printer, the grill screen, the Expo screen, and so on. An item can go to more than one place. If a whole section of the menu goes to the same place ("all drinks go to the bar"), just say so.
If you have a shorter name the kitchen uses for an item, include it. Items can have a separate Kitchen Name that prints on kitchen tickets and screens.
Time-of-day pricing and menus
- Special prices by time of day, like happy hour: the days, the start and end times, and the special price of each item.
- Menus that only show at certain times, like breakfast or late night: the days and times each one should appear on the POS.
Tax
- Your sales tax rate, and any items taxed at a different rate (for example, liquor).
- Anything that isn't taxed at all.
See Set your tax rate for how tax works in RealPOS.
Discounts
- Items that should never be discounted (for example, gift cards or alcohol where the law requires it).
Your discount buttons themselves are covered in Set up discounts.
How you want the POS laid out
- The screens (departments) you want down the left side of the POS order screen, in the order you want them. For example: Appetizers, Salads, Entrees, Sides, Desserts, Kids, Beer, Wine, Liquor, NA Drinks.
- Which items go on which screen, and any item that should appear on more than one screen.
- How you want sales grouped on your reports (for example Food, Beer, Wine, Liquor). These groups are called categories.
- Your order types, like Dine In, To Go, Delivery or Bar Tab.
Barcodes (optional)
If you scan items with a barcode scanner, send the barcode for each item.
What happens next
Your dealer builds the menu in your back office. When they tell you it's ready, check it over:
- Sign in to the back office and open Menu.
- Look through Items: names, prices, and the department each item is in.
- Click an item to see everything about it: its Price, Open Price and Sold by Weight settings, Department, Printer / KDS, Tax, Modifier Sets and Price Schedules.
- Check Departments (the order they appear on the POS), Modifier Sets (the choices and which are required) and Order Types.
- Send your dealer a list of anything that needs to change, or make small fixes yourself.
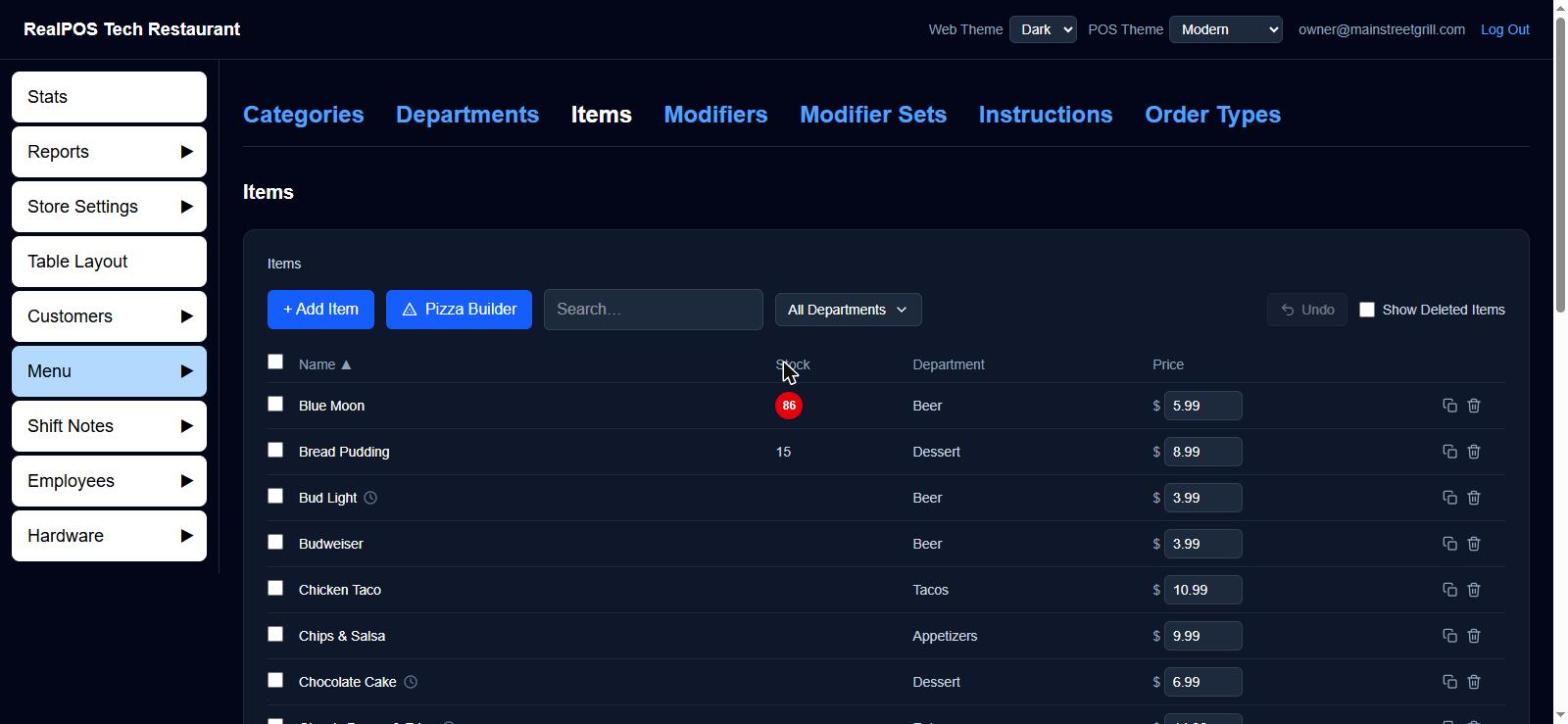 The Items list in the back office
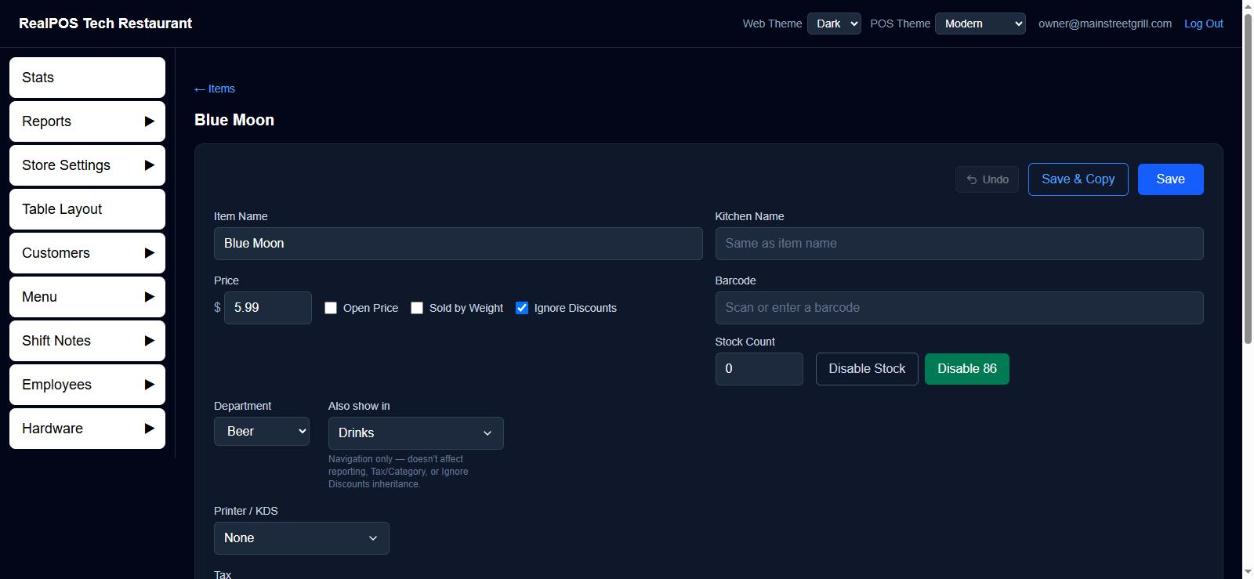 An item's settings
Changing your menu later
Your menu is yours to change any time in the back office (or on the POS, in the Manager screens). Changes reach your terminals on their own. The manager manual covers each part of the menu: