Welcome to RealPOS
What the pieces of RealPOS are, what your dealer has already set up, and the order to set up the rest.
Welcome! This guide walks you through getting your restaurant ready to open on RealPOS. Read this page first, then work through the pages in order.
The pieces
RealPOS is a few pieces that work together. Everything you set up in one place reaches the others on their own.
POS terminals. The touch-screen stations at the bar, the host stand or the counter. Staff sign in with their own 4-digit PIN, clock in, open tables and orders, send items to the kitchen and take payment. Each terminal is activated once with an activation code from your dealer.
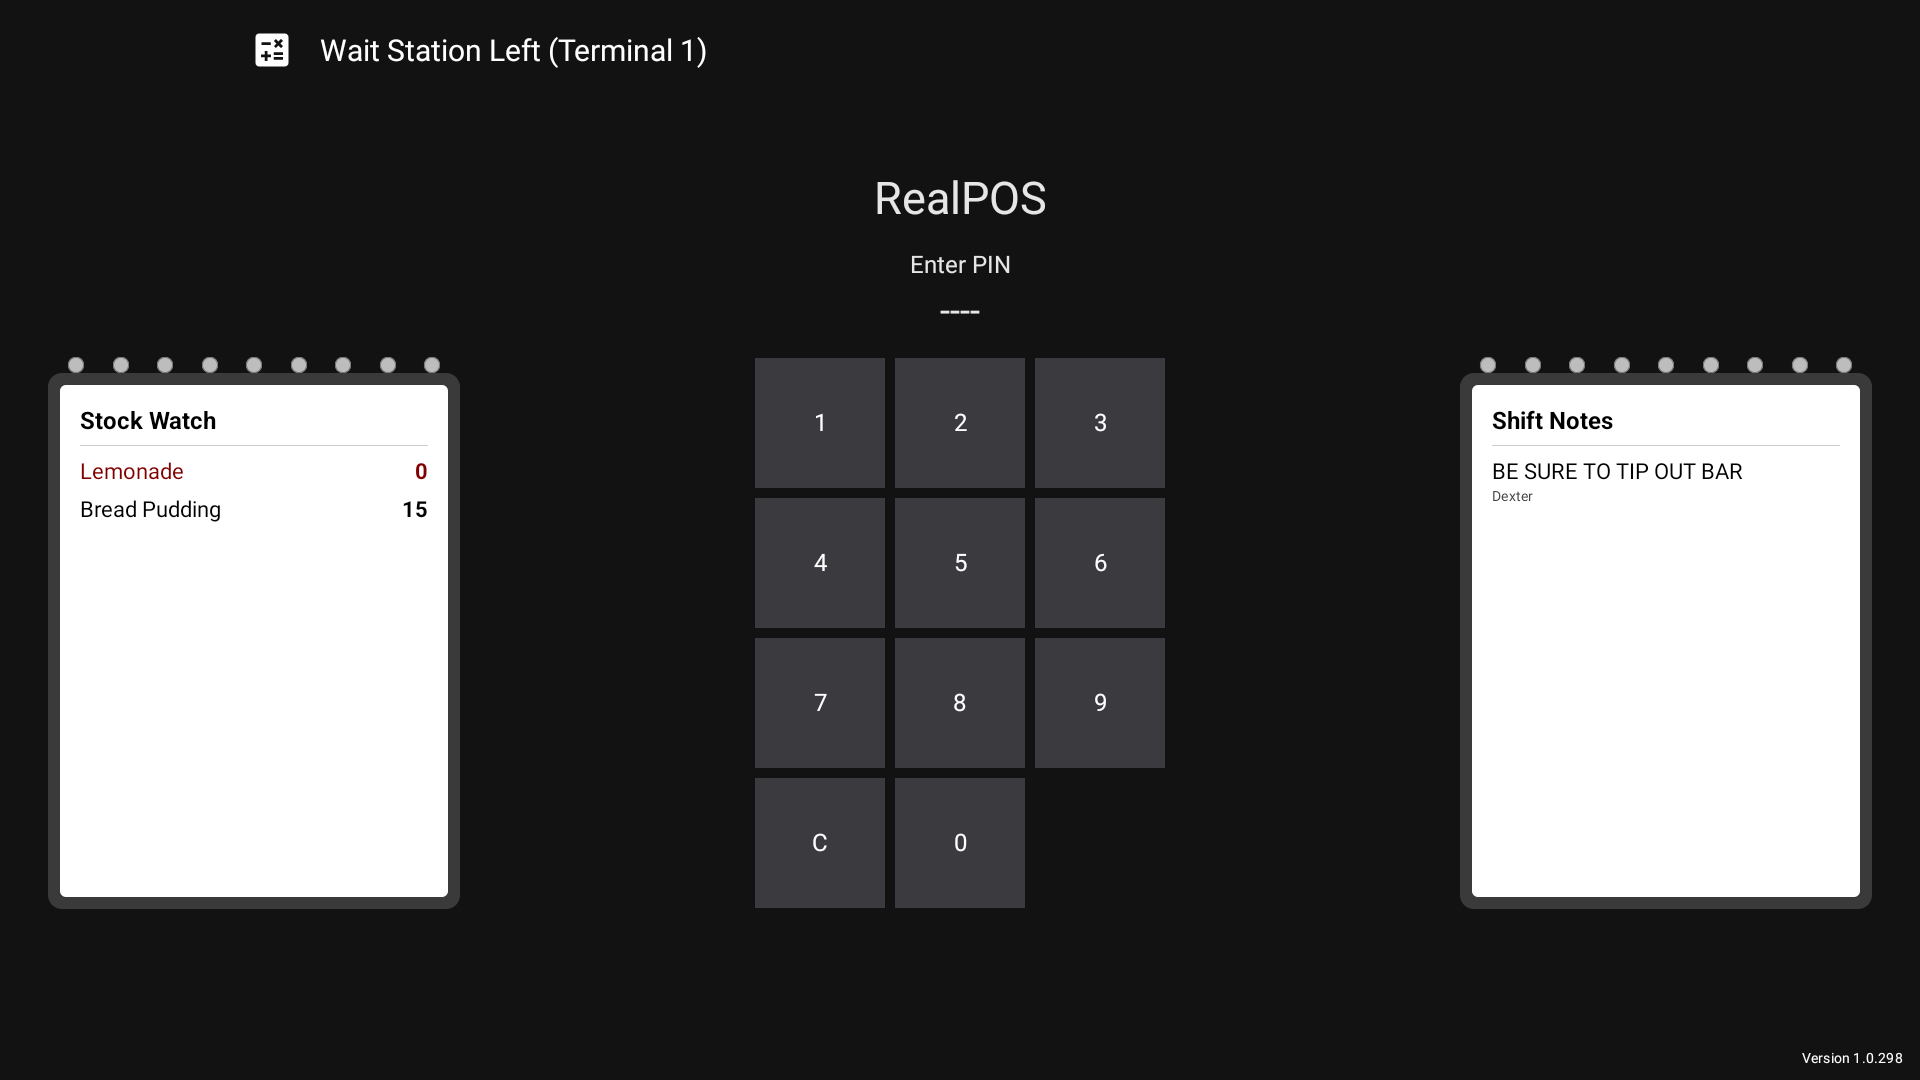 The POS sign-in screen, where staff type their PIN
Handhelds. Small handheld devices your servers can carry to the table. They sign in with the same PIN and can open tables, take orders and take payment. Like terminals, each handheld is activated with a code from your dealer.
Kitchen screens. Screens in the kitchen (and at Expo) that show orders as they are sent, instead of or as well as kitchen printers. There is nothing to type on the kitchen screen itself: it is connected from a POS terminal.
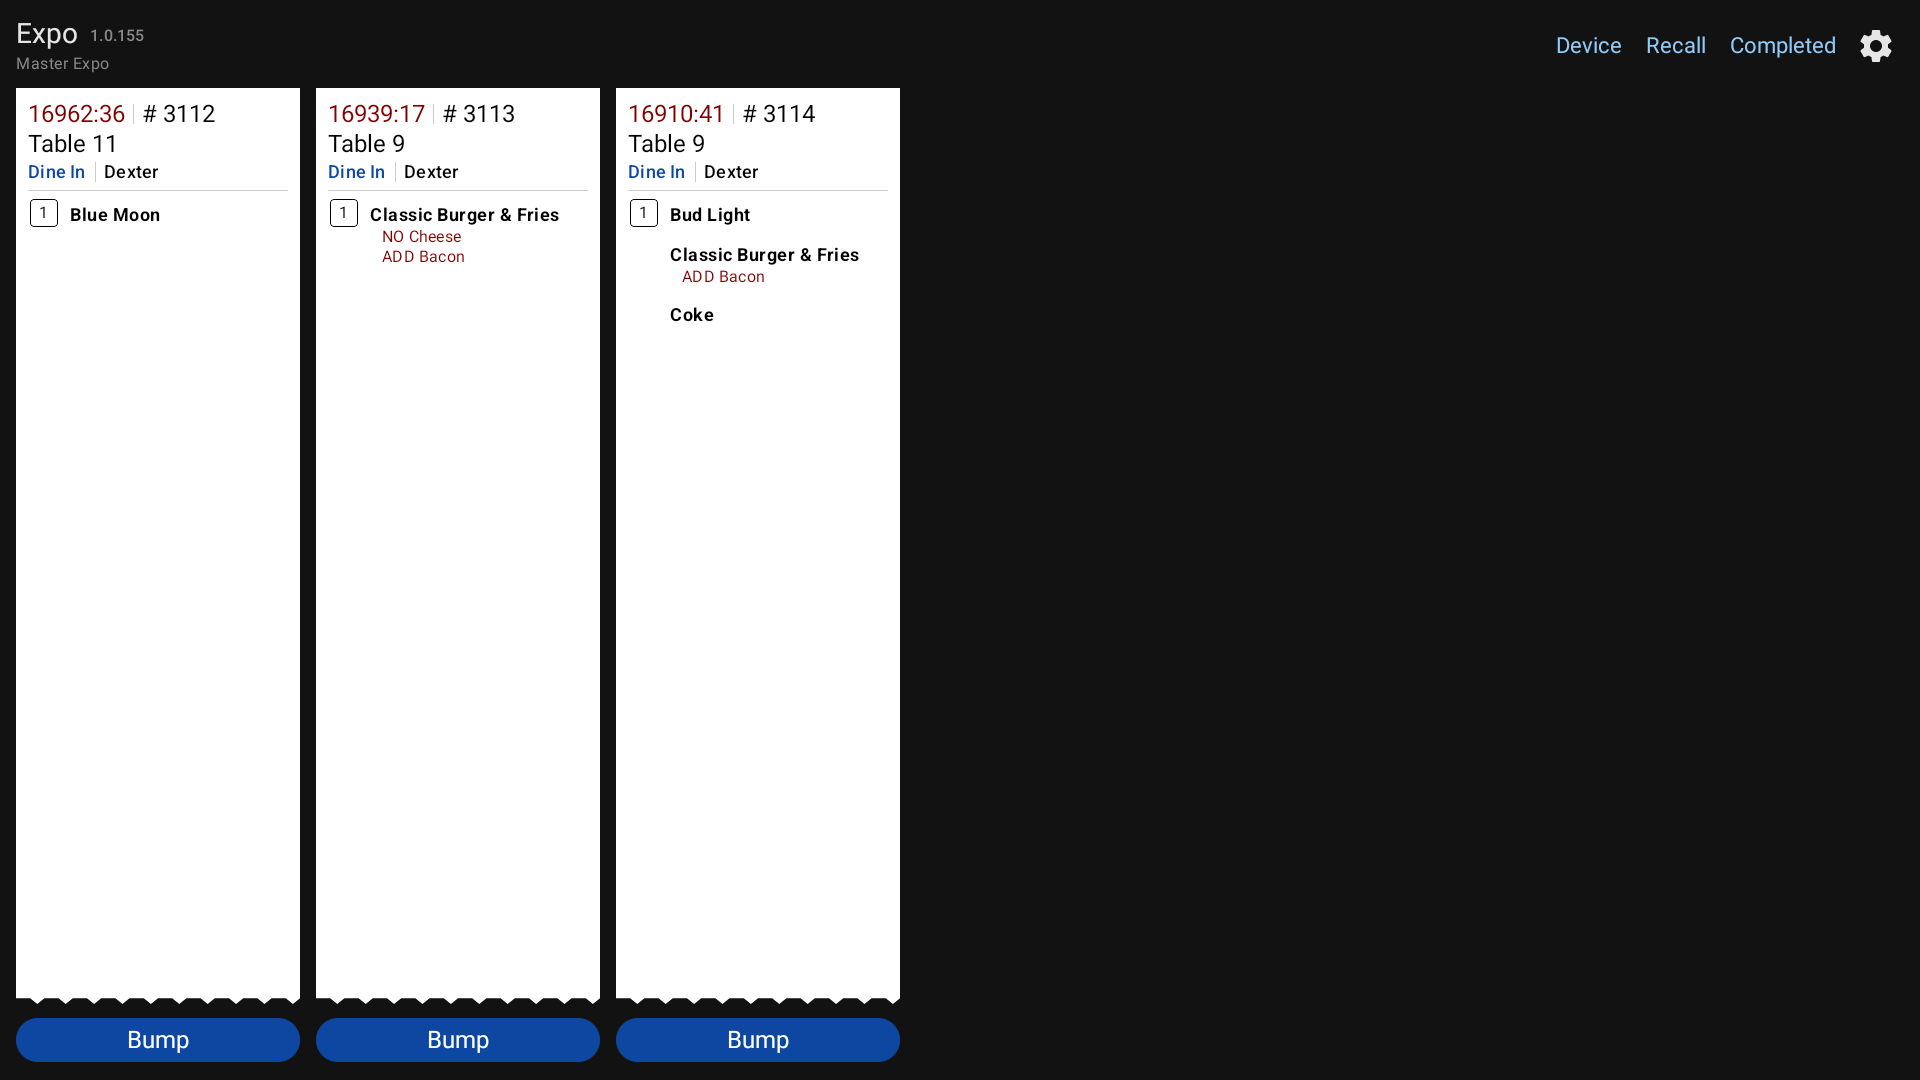 A kitchen screen showing orders
Printers. Receipt printers at the stations and kitchen printers on the line. You choose which items print (or show) where.
The back office. A website at login.realpos.net where you (and anyone else you give a login to) set up and run the restaurant: the menu, employees and their jobs, taxes, discounts, payment types, table layout, printers and kitchen screens, and all of your reports. You can use it from a computer, tablet or phone.
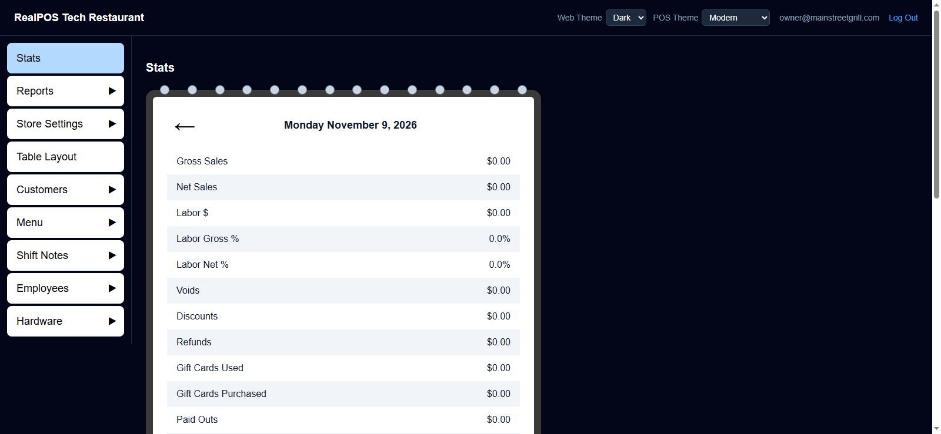 The back office
What your dealer has already done
When your dealer created your restaurant on RealPOS, they set up:
- Your restaurant's back office login, and sent you a welcome email to create your password.
- Your first manager employee, with a POS PIN. Your dealer gives you this PIN.
- Four starter jobs: Manager, Server, Cashier and Kitchen, each with a sensible set of permissions you can change.
- The standard payment types and printer templates.
- Your store's sales tax rate.
Your menu, floor plan and hardware are built next, with you.
The order to set things up in
- Sign in to the back office. Use the link in your welcome email to create your password. See Sign in to the back office.
- Send in your menu. Your dealer builds it for you; you check it over. See Submit your menu for programming.
- Check your taxes. Make sure every item is taxed at the right rate (or not at all). See Set your tax rate.
- Set up your jobs. Decide what each job (server, bartender, cashier, manager...) is allowed to do. See Add jobs and set their security.
- Enter your employees. Give each person a PIN, their jobs and their pay rate. See Enter your employees.
- Set up your discounts. The discount buttons your staff will use, and who can use them. See Set up discounts.
- Finish the rest and test. Payment types, table layout, printers, kitchen screens and terminals, then a test order from start to finish. See Before you open.
Getting help
Your dealer is your first stop for anything about setup. You can also email support@bayareapointofsale.com.